

Easy Way To Draw Car

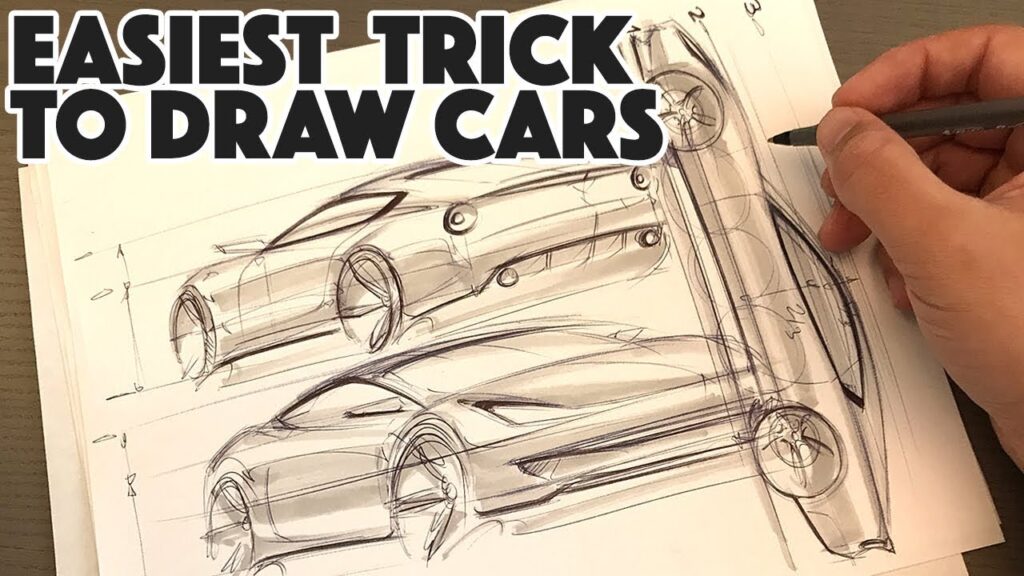
How to Draw a Car: Simple Step-By-Step Tutorial
This time, it is to sketch a car. This guide will teach you how to draw a car step by step, whether you are a beginner or trying to improve your skills. By the end, you should have a good grounding to create your own car designs!
Step 1: Gather Your Materials
You’ll need some basic supplies:
Pencil and eraser
Paper or sketchbook
Straight edge (optional, for lines)
Colored pencils or markers (optional, for adding color)
Step 2: Choose a Car Style
Choose a car to draw (use a reference image to make your drawing more realistic):
Classic car: Sleek lines and nostalgic feel.
Sportcar: Compact and aerodynamic.
SUV or Truck: Tough and boxy.
Having a clear idea will help you more on the drawing.
Step 3: Start with the Basic Shapes
Start by dividing the car into basic shapes:
Draw a rectangle or oval shape for the body.
Wheels: Draw two circles close to the bottom for the wheels.
100 Roof: Draw a smaller rectangle or slightly curved shape on top of the body.
These shapes are the building blocks of your car. Make your lines light so that you can erase and adjust when you need to.
Step 4: Outline the Car Shape
Tweak the basic shapes into the car’s body:
Front and Rear: Use curves or angles to delineate the car’s hood and trunk.
Wheel Arches: Make a semi-circles over the wheels to create the wheel arches.
Windows & Roof: Draw in the car’s windows, windshield and roofline, using roughly the same proportions as the previous sketch.
If you need them, use reference images in getting proportions right.
Step 5: Add Details
Now, animate your car by filling in some important details:
Wheels: Attach rims and treads to wheels.
Front Grill and Headlights: Create the front grill and headlights.
Doors and Handles: Sketch the doors of the car and add small handles
Mirrors and Spoilers: Add mirrors, and a spoiler if you’re drawing a sports car
Step 6: Refine and Clean Up
Trace over your sketch and refine your lines. Remove any unnecessary headings and make the outlines fluid and easy. This is the part of the process where your car starts to look shiny.
Step 7: Create Texture and Shadows
Texture: Use lines to illustrate reflections on the surface of the car: shiny metal or smooth paint.
Shadows: Add some shading underneath the car and around the wheels to make it pop.
Step Eight: (Optional) Color your drawing
If you want to paint your car (or its parts) a new color, pick a palette that matches its personality:
Nostalgic colors for the sports car.
Metallic hues for contemporary vehicles.
Classic designs in neutral shades.
Add highlights to spots where light would hit like the roof and hood.
Step 9: Add a Background (Optional)
Provide a location for your car to provide context:
For a sports car: a race track
A city street for a sedan.
A rough mountain trail for an SUV.
Tips for Inspiration
You have limited interaction with the data you can work with: practiced with photographs or real vehicles.
Try to practice sketching various angles, such as side profile or three-quarter angle.
Try blending different car model elements to create your own designs.
Conclusion
Drawing a car is a tedious process that does take practice but can be a great art skill. By implementing these steps you would have a basic skeleton to work around your own car designs. As you progress, you can incorporate more complexity and style to your writing.
So grab your tools, jump in, and follow your creativity where it leads you! 🚗